Wednesday, 30 April 2014

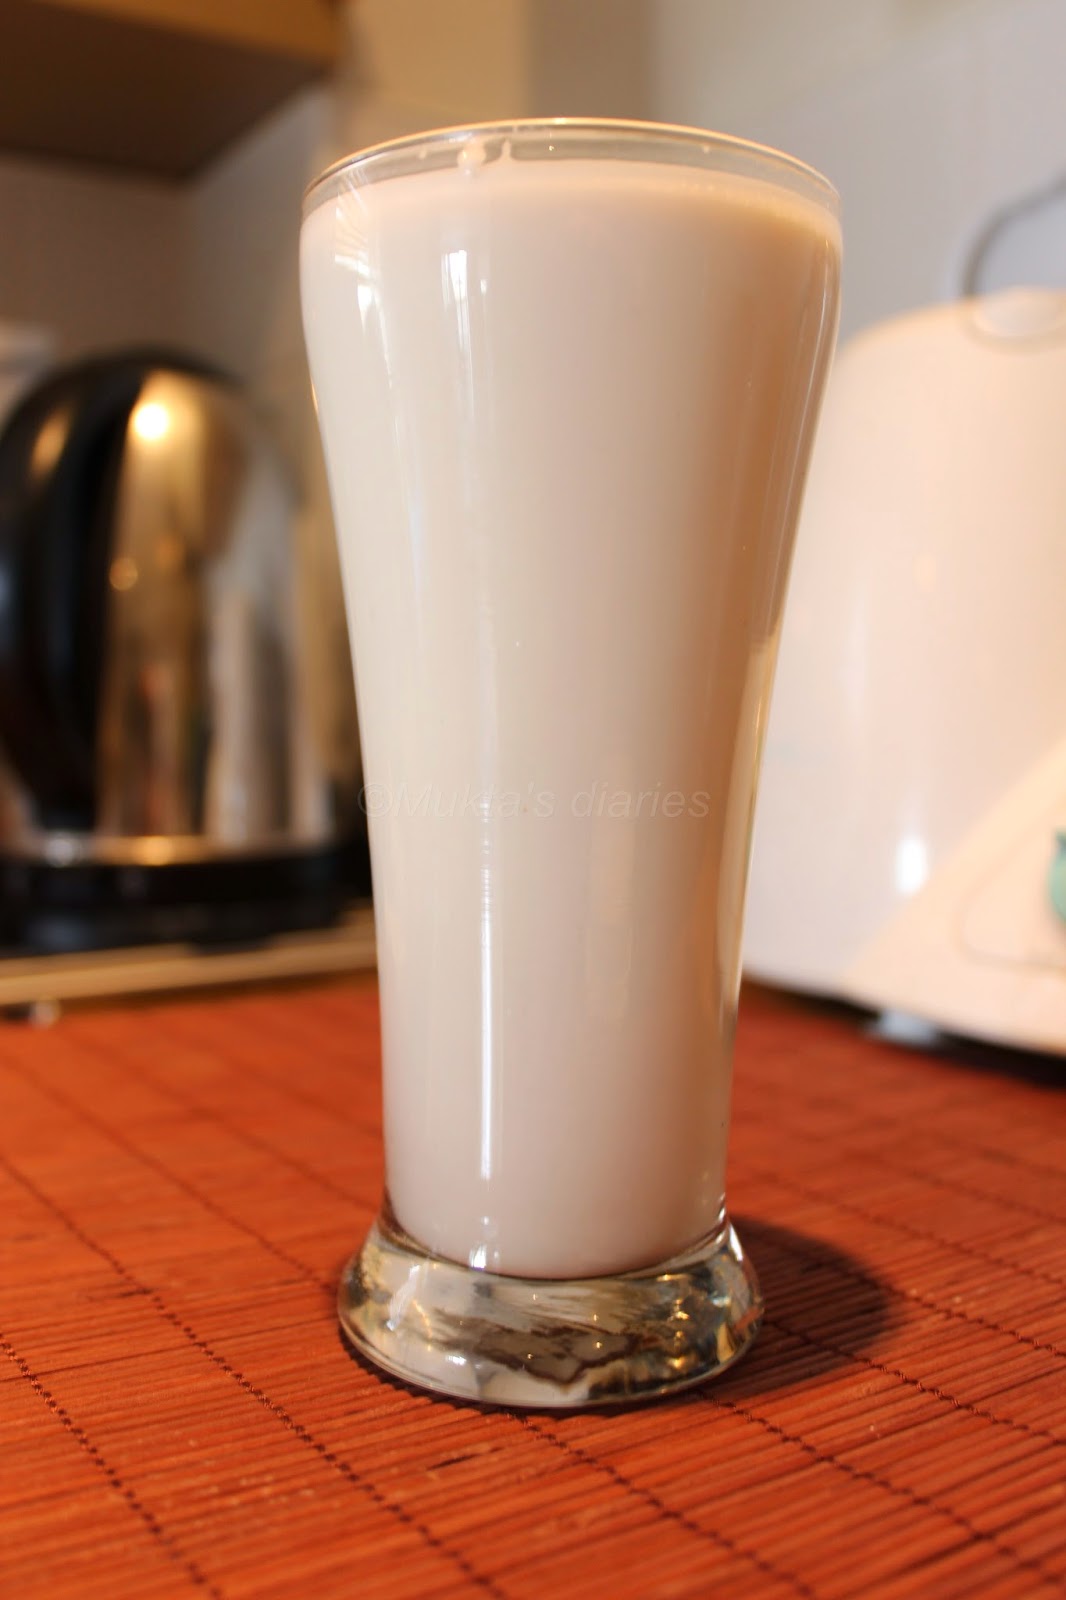
Homemade almond milk

Thanks to my sister, I have a new-found love for almond milk. I have bought almond milk a few times from the supermarkets but it was only after my sister told me that I could make it at home, I became a fan. Since I am into smoothies lately it couldn't have been a better time for me to learn how to make it at home. It is so simple, delicious, super healthy and nutritious since it has no added preservatives and sugar for that matter. The almonds make it naturally sweet. 

Unfortunately it only lasts a few days in the fridge so needs to be consumed in a day or two. 
Good thing is it is really simple to make.  Here is what you need to do -


Ingredients

1 cup raw almonds
2 cups water
A cheese cloth or a strainer

Method

Put the almonds in a bowl and cover them in water until they are completely covered. Soak the almonds in water, overnight.

Drain the water and give the almonds a quick rinse. 

Add the almonds and 2 cups of water to a blender and blend until the almonds are broken down into a fine meal and the water has turned white.

Strain the almond milk into a jug/glass using a strainer or cheese cloth. If using a strainer, use the back of a spoon and press to release all the liquid from the meal.  If using a cheese cloth, twist and close the cloth around the almond meal and squeeze out as much liquid as possible.

Add sweetener if you wish and mix well.

Store in the refrigerator in an airtight container. It should keep for about 2-3 days. 

The almond meal can be used in baking!! :)
Share:

Wednesday, 23 April 2014

Butter chicken

My first memory of butter chicken or chicken makhani is eating it in Bombay, at a restaurant called Shamiana. Honestly I don't remember the taste of the butter chicken any more but I remember it being my favourite dish. Unfortunately Shamiana doesn't exist any more! :( Thankfully there are a lot of other places which serve butter chicken, probably better too! :) I thought of ordering it from our regular Indian take away, here in London, but although they have the most incredible chicken curries, the butter chicken isn't that great. So I decided to have a go at making it myself, and it actually turned out great! There are a lot of other butter chicken recipes out there but I've tried to keep it simple and less calorific (well, relatively...)

I generally marinate the chicken for 4-5 hours but 30 minutes should be good. Adjust the chilli as per your taste. I have also used kashmiri chilli powder which is milder but has a lot of flavour and gives the sauce a nice colour.

Don't get intimidated by the long list of ingredients (I am saying so because I usually do!). If I can make it so can you! ;)


Ingredients

For the sauce

1 medium onion, chopped
3 large tomatoes, chopped
1 bay leaf
2 cloves
1 tsp ginger paste
1 tsp garlic paste
1 tsp cumin powder
1 tsp coriander powder
1/2 tsp mango powder (amchur)
1 tsp dried kasuri methi 
1 tsp kashmiri chilli powder
1/4 tsp red chilli powder
1 tsp sugar
1/4 cup single cream
Butter
Salt

For the marinade

400 gms boneless chicken
2 tbsp plain low fat yoghurt
1 tbsp oil
1/2 tsp cumin powder
1/2 tsp coriander powder
1/4 tsp chilli powder

Method

Cut the chicken into strips. In a bowl add the marinade ingredients - yoghurt, oil, cumin powder, coriander powder, chilli powder. Add the chicken and coat it well. Leave it to marinade for at least 30 minutes.

In a non-stick pan, heat 1 tbsp oil on medium heat. Add the bay leaf and cloves and fry for a minute. Add the onions and fry until lightly brown.

Add in the chopped tomatoes and cook for 2-3 minutes. Add in the ginger paste, garlic paste, cumin powder and coriander powder. Cook for a couple of minutes.

Turn the heat off and once the onions and tomatoes mixture has cooled, remove the bay leaf and cloves (you can leave the cloves in if you wish) and blend the mixture to a fine paste.
In the same pan, add 1 tbsp oil and 2 tbsp butter. Add the chicken pieces and fry on medium heat until the chicken is almost cooked.

Add the tomato paste to the chicken, add salt, mango powder (amchur) and mix well. Cover and cook for 5 minutes.

Add the sugar and kashmiri chilli powder. Crush the kasuri methi leaves and add to the sauce. Let it simmer for 3-4 minutes.

Turn the heat off and add the single cream. Mix well.

Garnish with coriander and serve with hot parathas.
Share:

Friday, 18 April 2014

Guilt free banana ice-cream

A guilt free, super healthy ice-cream, yes ice-cream! Well, almost :) All you need to do is freeze ripe bananas and then blend them, making them silky smooth and creamy, forming a perfect scoop!

You can eat this as it is or experiment with different flavours such as peanut butter, almond butter, nutella or whatever you fancy. I added cocoa powder and some honey. The banana does dominate the taste though. 

This is also perfect for a dairy free diet.


Ingredients

3 ripe bananas chopped and frozen
2 tsp unsweetened cocoa powder
1 tbsp honey

Method

Chop the bananas, put them in a sealed container and freeze them for 5 - 6 hours or overnight.

Add the frozen bananas to a food processor or blender and whiz. Use a spatula to scrape the sides.

Add the cocoa powder and honey and whiz again until combined.

Indulge! Did I mention this was guilt free! :)
Share:

Sunday, 13 April 2014

Spaghetti with artichoke hearts

Another quick, simple and delicious pasta dish - I love making something like this for a weekday dinner. This is a basic pasta in tomato cream sauce recipe. I had a can of artichokes in my store cupboard so I used them too. You can use mushrooms or any other vegetable instead.


Ingredients

1 small onion finely chopped
2 cloves of garlic chopped
1 400 gms can of tomatoes
1 400 gms can artichoke hearts (I used ones in water)
100 ml sour cream 
1/4 cup chicken or veg stock (You can use a stock cube instead)
1/4 cup parmesan cheese
1 tbsp olive oil 
2 tsp butter
200 gms spaghetti ( I used wholewheat)
1 tbsp chives
salt and pepper to taste

Method

Bring a large pan of water to a boil. Add the pasta and some salt, and cook as per instructions on the packet.

Meanwhile in another pan, add olive oil and butter. When the butter melts add in the onion and garlic and cook for a minute or two.

Drain the artichoke hearts, squeeze and add to the pan. Add the tomatoes from the can, season with salt and pepper and let cook for 8-10 minutes.


When the pasta is cooked, keep around 1/4 cup of the pasta water aside and drain the pasta. Toss the pasta with some olive oil.

Once the artichokes have cooked, lower the heat and add the sour cream and chicken stock. If the sauce is too dry add the pasta water to it. Combine together and cook on a low flame for a couple of minutes. 

Add the cooked pasta to the sauce and toss. Top with parmesan (leave some for garnishing) and toss.
Serve. Garnish with the remaining parmesan and chopped chives.
Share:

Friday, 11 April 2014

Banana muffins

Banana muffins are a lovely breakfast or tea time snack. They are perfect to use up those overripe bananas  (don't throw them away!). In this recipe I have used muscovado sugar but you can use white sugar. 


Ingredients

250 gms plain flour
110 gms dark muscovado sugar
50 gms butter softened
2 eggs
2 ripe bananas
1 tsp baking powder
1/2 tsp bicarbonate of soda
1 tsp vanilla extract
1/2 tsp nutmeg powder
125 ml milk
pinch of salt

Method

Preheat oven to 180 C

Mash the bananas

Sift the flour, baking powder, bicarbonate of soda, salt and nutmeg

In another bowl whisk together the eggs, butter, sugar, vanilla extract and milk. Add the bananas and mix. 

Add the dry ingredients and stir roughly using a fork. Don't over mix - you want the batter to be lumpy. 

Distribute equally in muffin cups.


Bake for 20-25 minutes


Allow to cool for 5 minutes before transferring to a cooling rack to cook for a further 5 minutes. 


Enjoy!

Share:

Thursday, 10 April 2014

Flaxseed smoothie

Flaxseed is said to be a good source of Omega 3 and fibre. It can be purchased at most health food stores either whole or ground. This smoothie is great for breakfast - very filling and healthy! 


Ingredients

200 ml natural yoghurt 
2 tbsp flax seed meal  
1 small banana
Handful of frozen berries
1 tbsp honey

Method

Add all the ingredients to a blender and blend (make sure your blender is sturdy enough for the frozen berries). 


Share:

Tuesday, 8 April 2014

Prawns in green spice paste (hara masala)

The green spice paste (hara masala) is used in Indian cooking for various recipes. You can make it and store it in the freezer for a few days. Everyone has a different recipe for it but the base is the coriander. I absolutely love using this green spice paste (hara masala) in sea food and chicken dishes. The prawn dish turned out great, if I may say so myself! :)


 Ingredients

180 gms raw prawns
1 medium onion finely chopped
1/2 tsp fennel seeds
1/2 tsp cumin seeds
1 tbsp coconut oil 
1 tsp lemon juice
1/4 tsp turmeric powder
Water
Salt

For the green paste (hara masala)

1 bunch coriander leaves (approx. 100-125 grams)
1 tsp garlic paste
1tsp ginger paste
1/2 cup grated coconut
3-4 green chillies roughly chopped

Method

Clean and devein the prawns. Add 1/4 tsp of turmeric and salt to the prawns and leave aside.

In a blender, add the the coriander leaves, coconut, ginger paste, garlic paste and green chillies. Add 1/4 cup water to help it blend. Blend to form a paste.

On medium flame heat 1 tbsp oil. Add the fennel seeds and cumin seeds and let them sputter. Add the onions. Add a pinch of salt and cook till the onions are translucent.

Add the green paste, mix well and cook for 3-4 minutes. Add 1/4 cup water ( more as required), add lemon juice and cover and cook for 5 minutes.

Add the prawns. Add salt as per taste (remember we had added salt earlier) Cover and cook for 3-4 minutes or until the prawns are cooked.

Serve with paratha or rice!


Share:

I have a Facebook page!

After thinking about it for a long time, I finally decided to create my Facebook page! Ever since I have actively started blogging I have taken interest in social networking as well. I was missing the 'follow/like on Facebook' icon on my blog but just wasn't sure if I was ready for the page.
Now my blog seems complete (Although I still need to get going on instagram but we'll get there soon) 


This is my cover photo for the page! Well at least for now! See you on Facebook! :)
Share:
© Mukta's food diaries | All rights reserved.
Blog Layout Created by pipdig